This basic guide shows how to configure Okta with uStudio Podcast. Please note that this guide may not cover everything your organization may want to set up.
PREREQUISITE
uStudio needs a sign-on URL and certificate. See Step 5 for details.
Step 1: Creating an Okta SSO Application
- Login into Okta as an administrator.
- Select Classic UI.
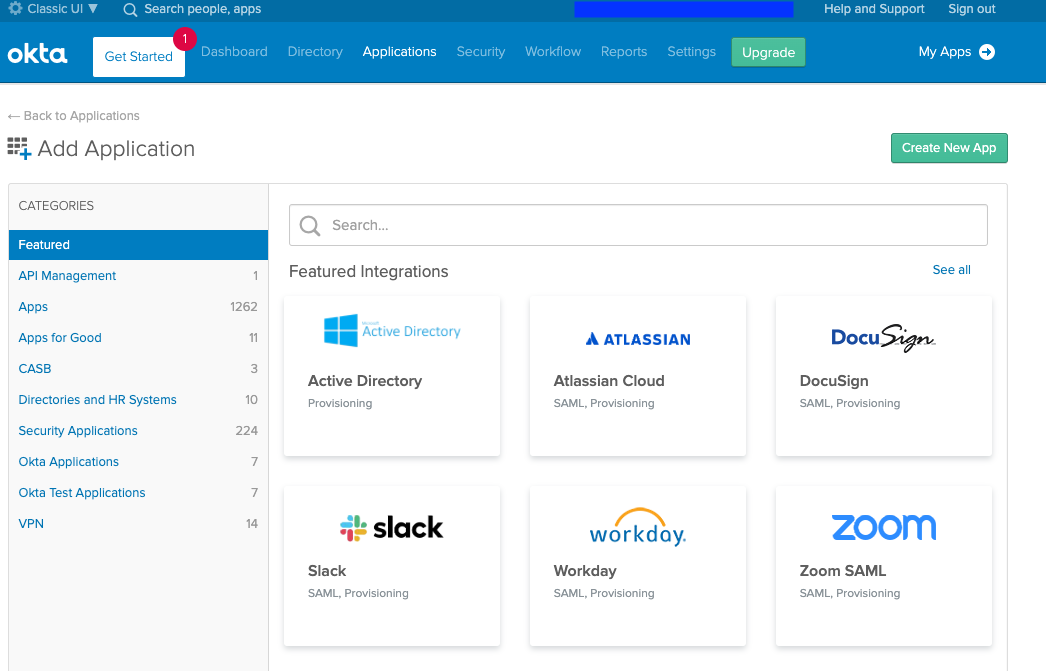
- Go to Applications.
- Click Add Application.

- Click Create New App.
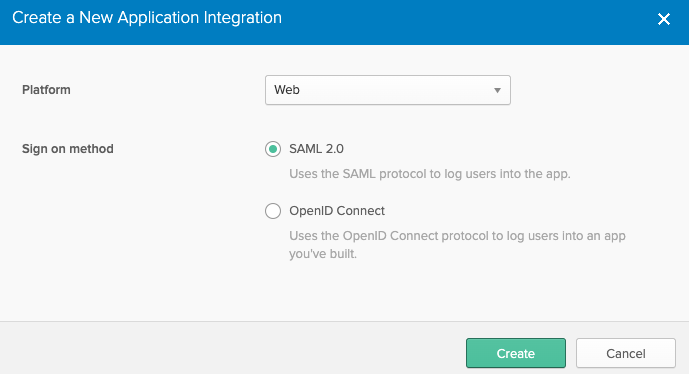
- Select Platform as Web.
- Select SAML 2.0.
- Click Create.
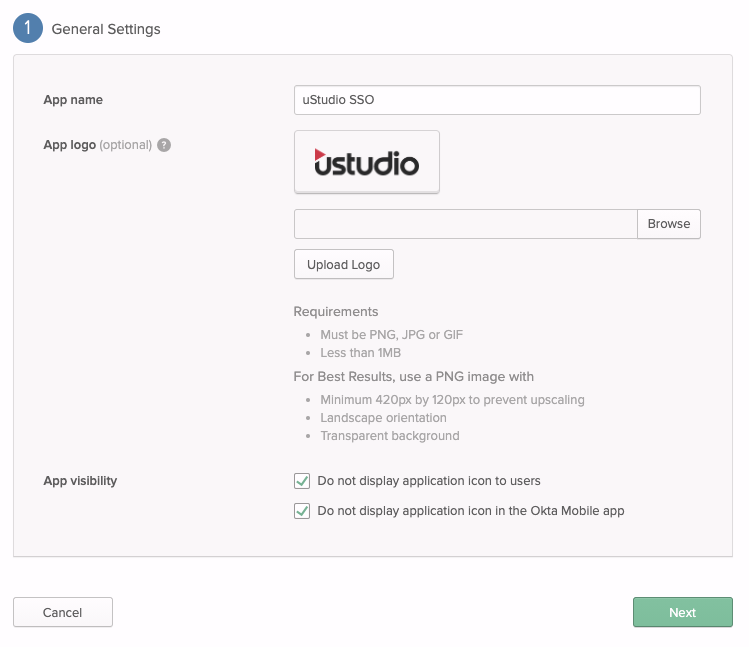
Step 2: General Settings
- Enter in an App name (e.g. uStudio SSO).
- [Optional] Upload an App logo (e.g. uStudio_Logo.png).
- Check “Do not display application icon to users.”
- Check “DO not display application icon in the Okta Mobile app.”
Note: You’ll need to create a service provider initiated icon tile for people to use. Route people to https://podcast-web.ustudio.com/ or https://podcast-web.ustudio.com/COMPANYCODE. - Click Next.
Step 3: Configure SAML
- Set Single sign on URL as https://ustudioinc.auth0.com/login/callback?connection=prod-companycode-podcast-sso.
- Set Audience URI (SP Entity ID) as urn:auth0:ustudioinc:prod-companycode-podcast-sso.
Note: companycode is provided by uStudio. - Leave Default RelayState blank.
- Set Name ID format as EmailAddress.
- Set Application username as Okta username.
- Click Show Advanced Settings.
- Set Response as Signed.
- Set Assertion Signature as Signed.
- Set Signature Algorithm as RSA-SHA256.
- Set Digest Algorithm as SHA256.
- Set Assertion Encryption as Encrypted.
- Set Encryption Algorithm as AES256-CBC.
- Set Key Transport Algorithm as RSA-OAEP.
- Upload our public certificate from https://ustudioinc.auth0.com/cer to Encryption Certificate.
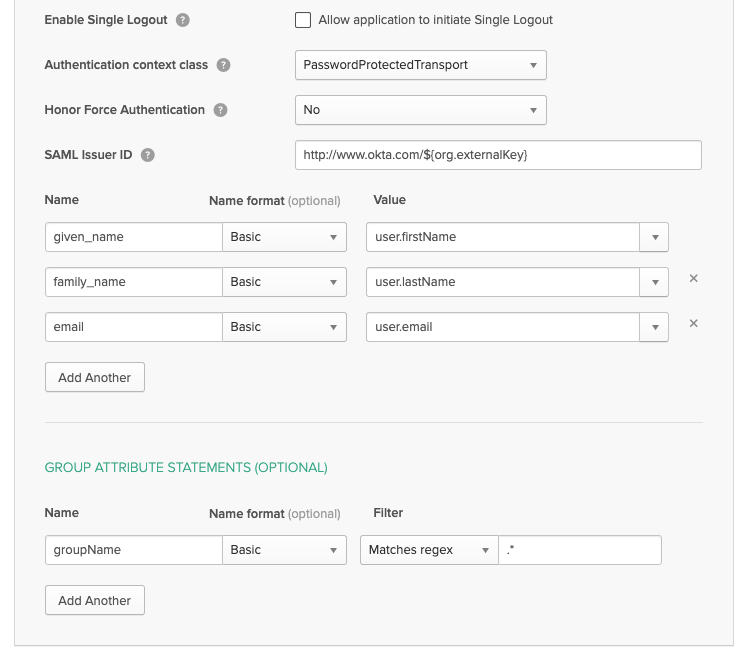
- Uncheck Enable Single Logout.
- Set Authentication context class as PasswordProtectedTransport.
- Set Honor Force Authentication as No.
- Leave SAML Issuer ID as is.
- [Optional] Add Attribute Statement given_name formatted as Basic with Value set as user.firstName.
- [Optional] Add Attribute Statement family_name formatted as Basic with Value set as user.lastName.
- [Optional] Add Attribute Statement email formatted as Basic with Value set as user.email.
Note: given_name, family_name, and email are used for dashboard analytics. - [Optional] Add Group Attribute Statement groupName formatted as Basic with Filter set as Matches regex where .*.
Note: This filter gets all groups associated with a user. You can specify which groups you really want to send over.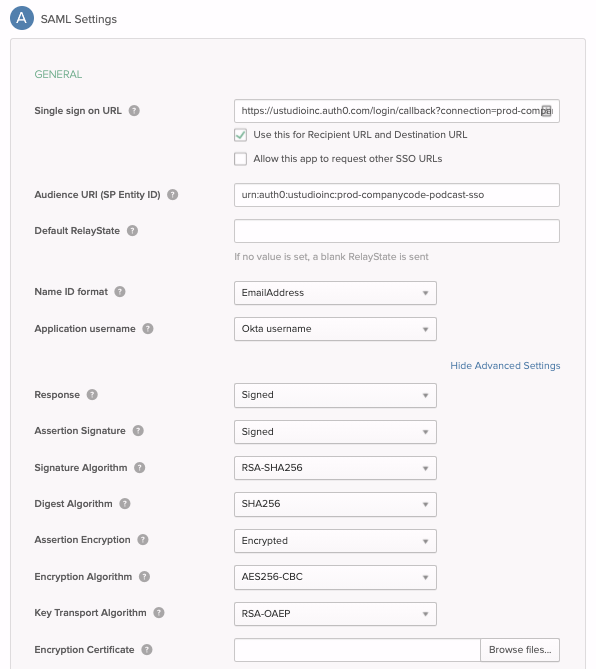
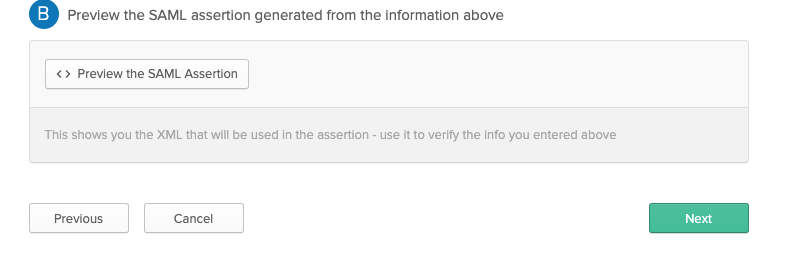
- Click Next.
Step 4: Feedback
Fill out this form accordingly. Then click Next.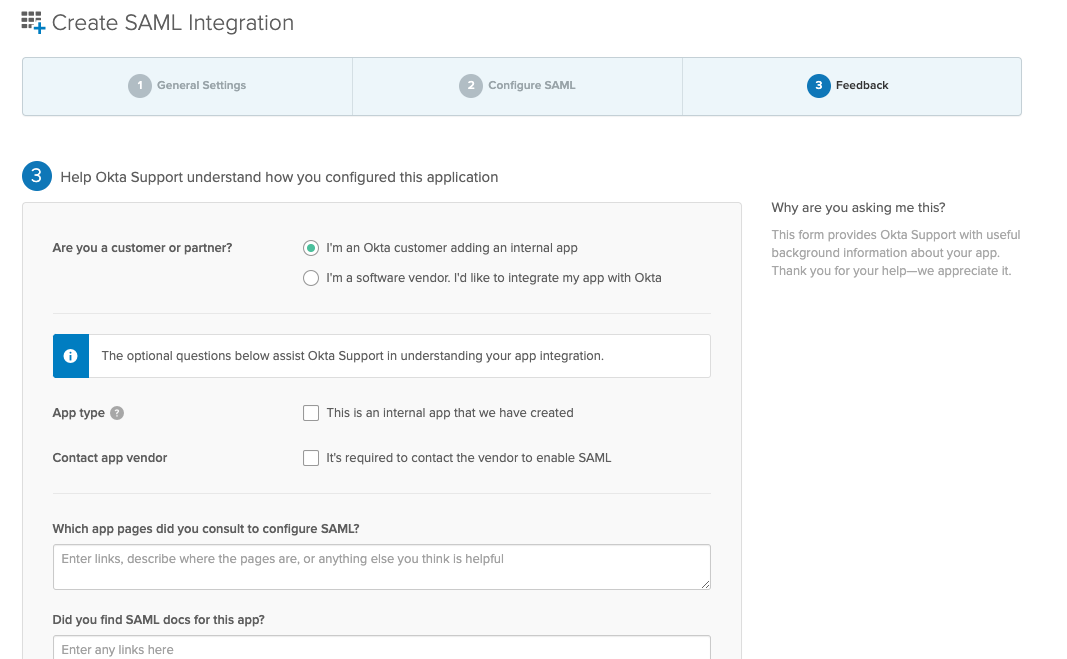
Step 5: Sign On
Prerequisite
Select Sign On and click Identity Provider metadata and save it as a file. Then send this metadata to your uStudio Support Agent or email it to support@ustudio.com. This metadata contains your sign-on url and X.509 Certificate.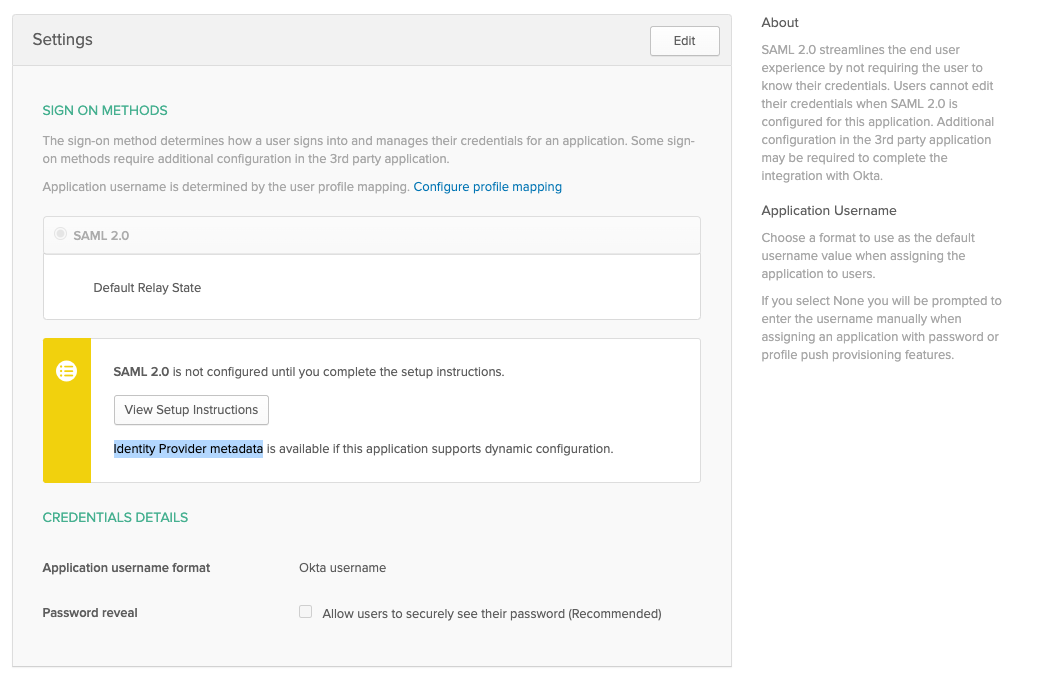
Step 6: Assigning Users and Groups
- Select Assignments.
- Select People or Groups.
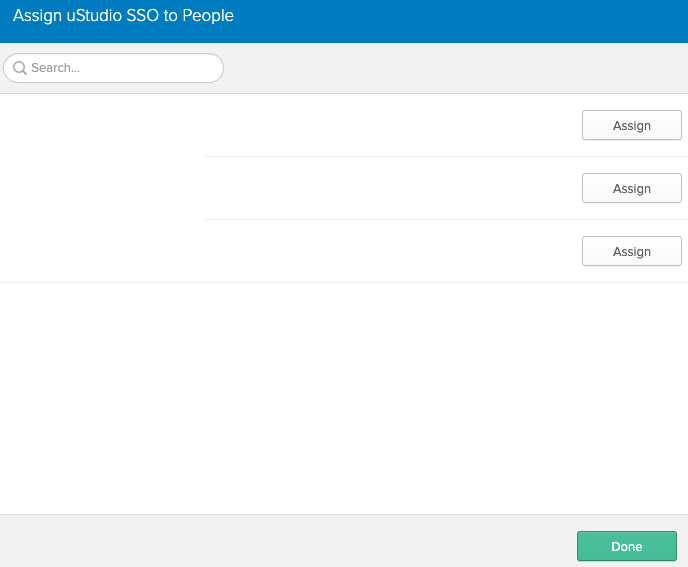
- Click Assign and select Assign to People or Assign to Groups.
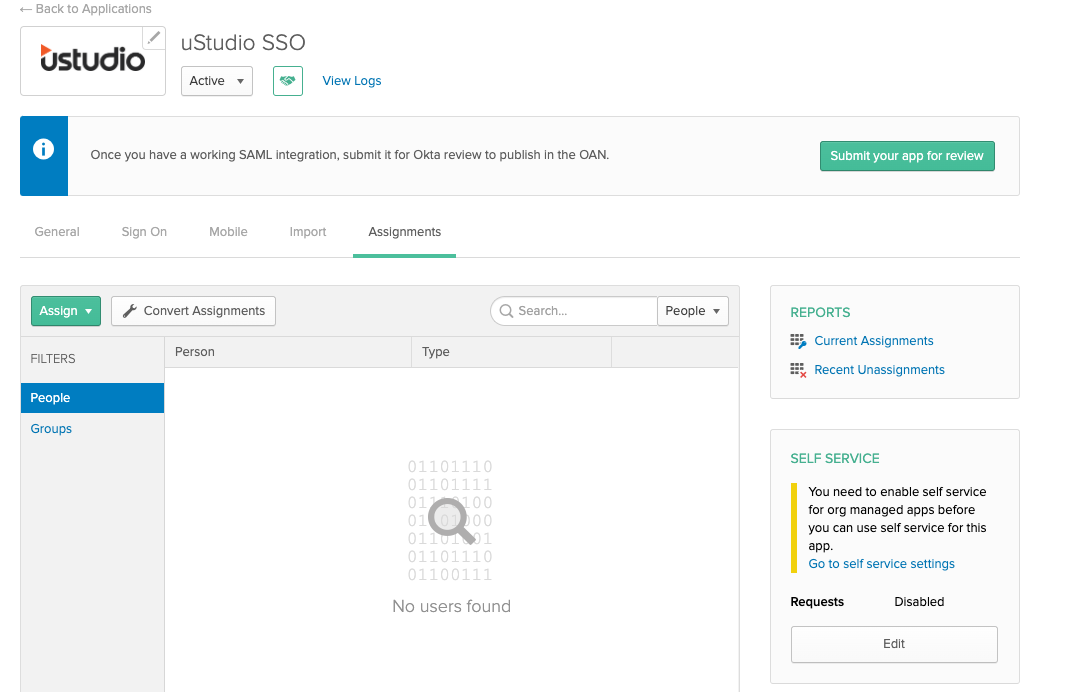
- Click Assign on each person or group you wish to assign uStudio.
- Click Done.
Step 7: Test with uStudio
Login into uStudio Enterprise Podcast on mobile and web. Tell your uStudio Support Agent or support@ustudio.com to verify the SSO connection.


